
Users
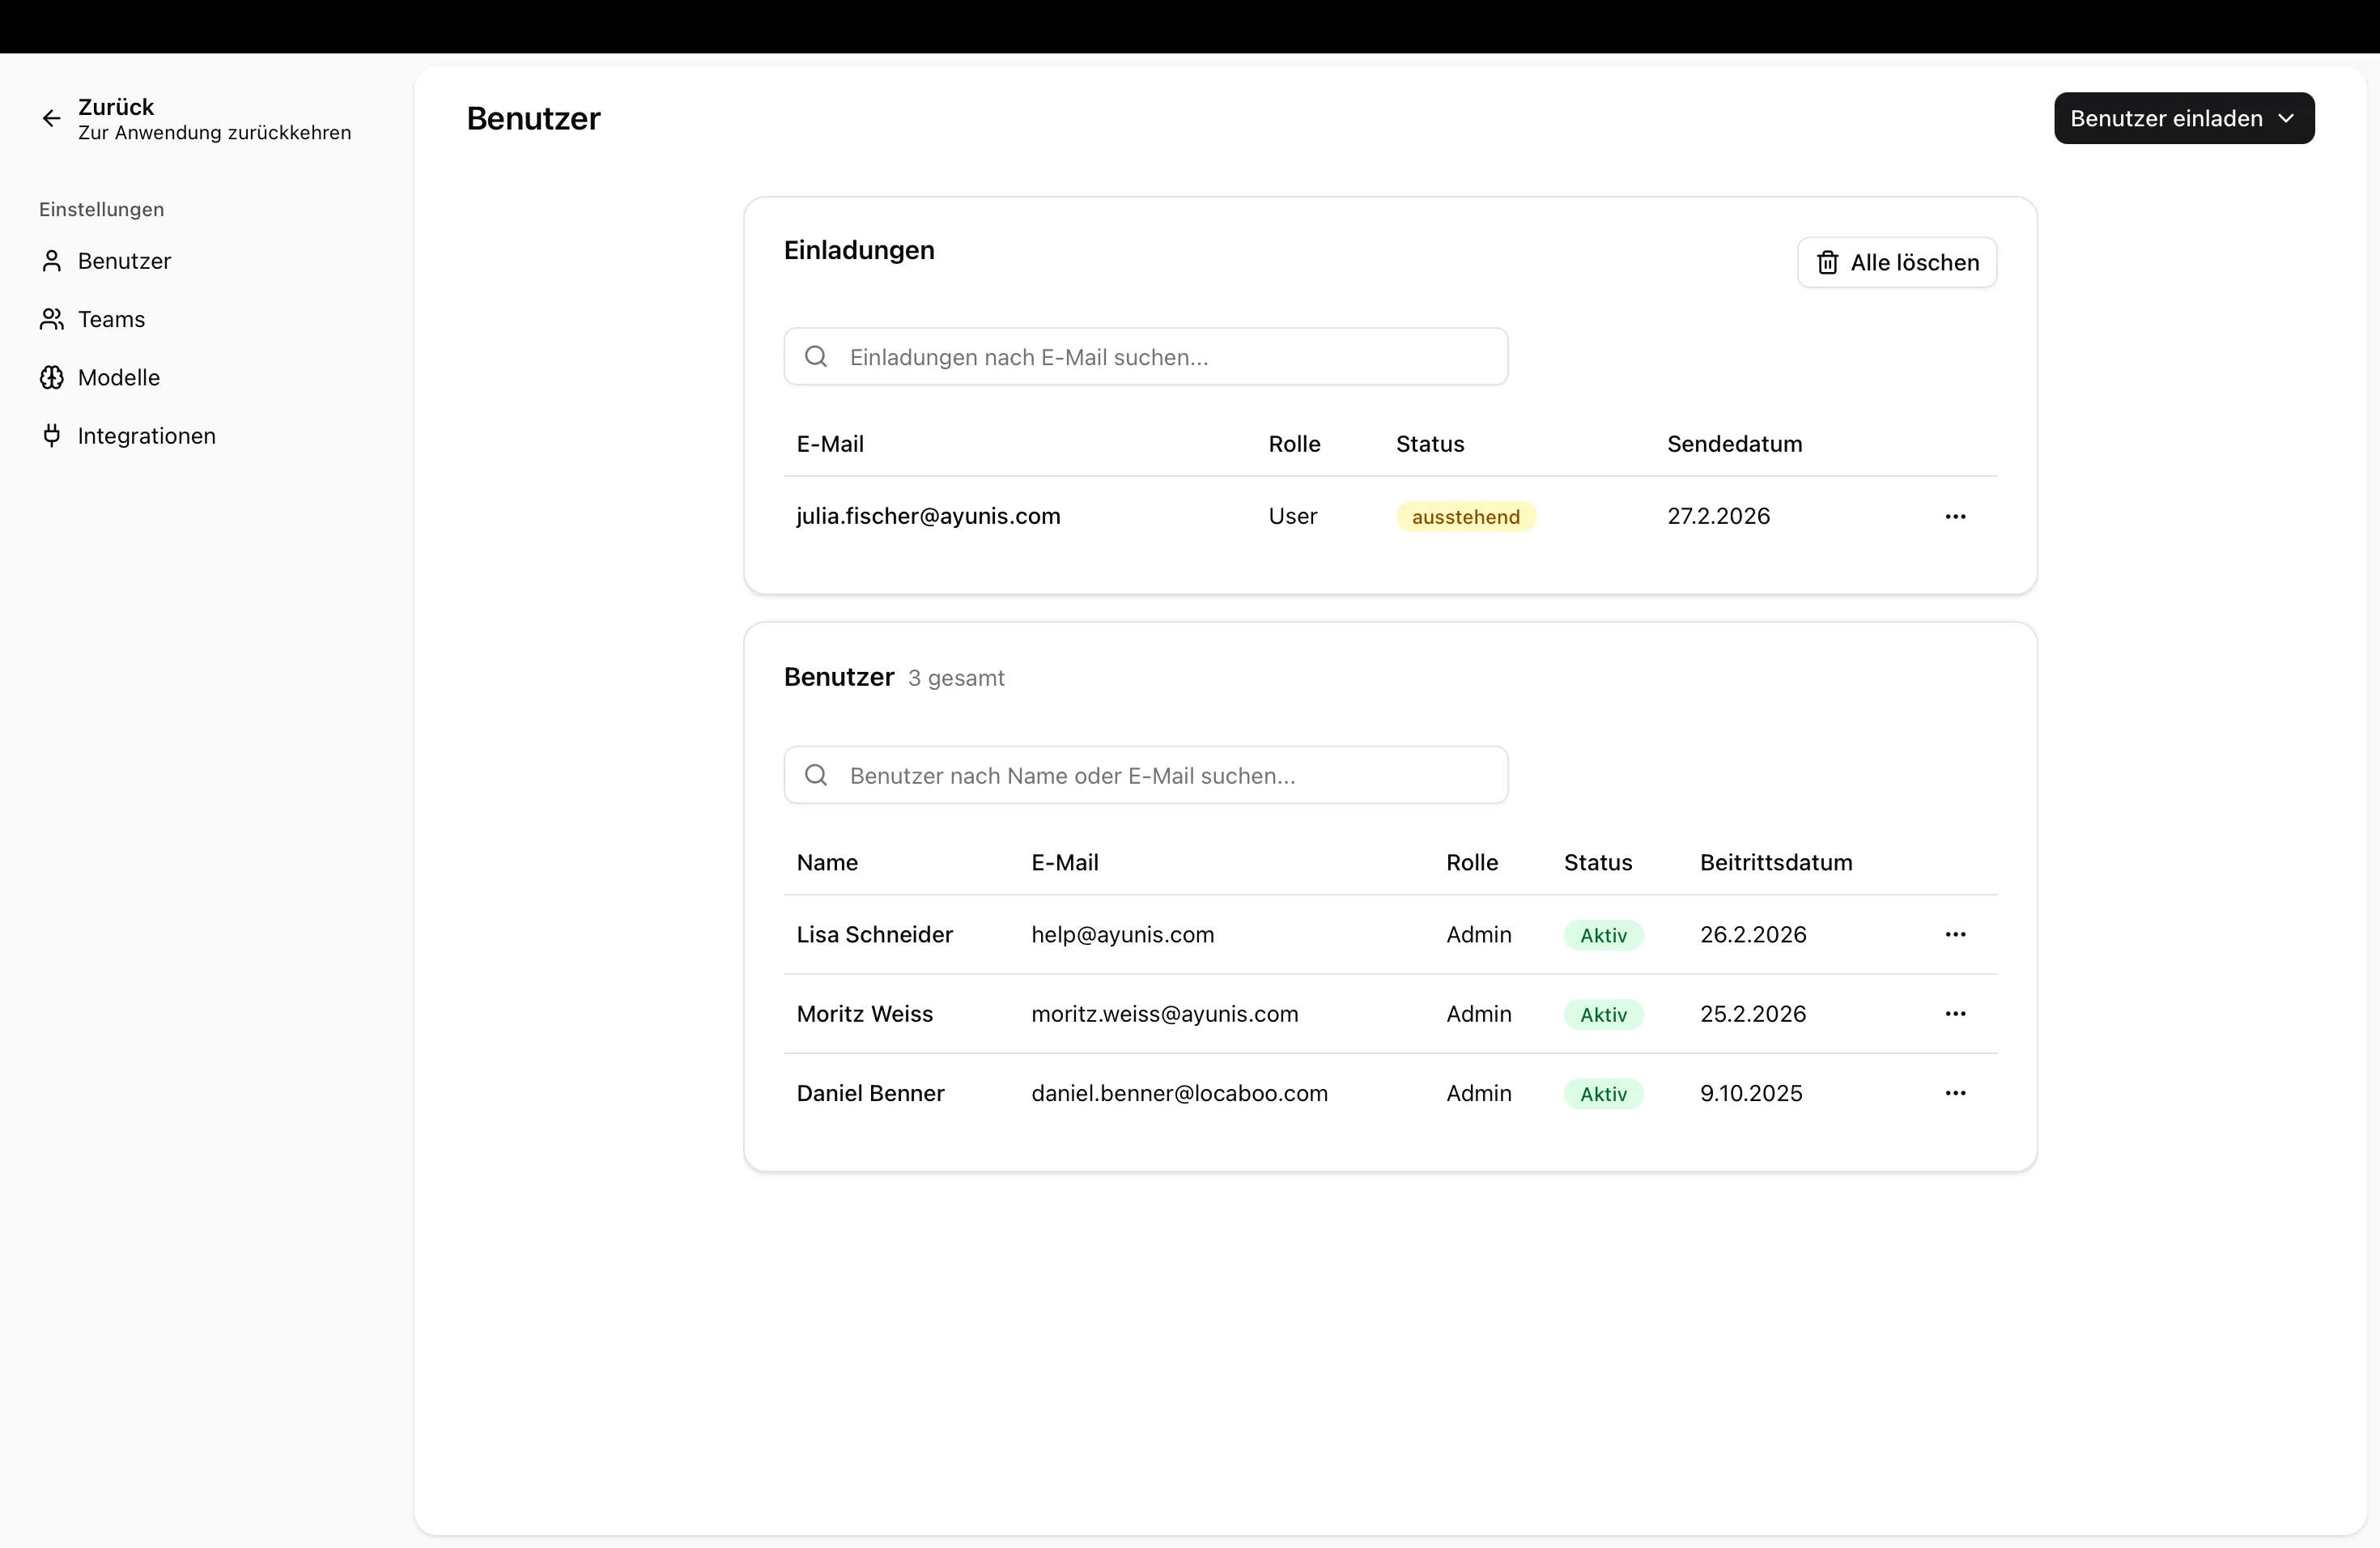
In the Users section, you manage all users of your organization: invite new people, assign roles, and control access.
Opening the User Overview
Section titled “Opening the User Overview”- Navigate to Admin Settings → Users
- You will see a list of all users with:
- Name and email address
- Role (User, Manager, or Administrator)
- Join date
Roles at a Glance
Section titled “Roles at a Glance”| Role | Permissions |
|---|---|
| User | Chat, create and use skills, upload documents |
| Manager | Same as User, plus depending on configuration: manage teams, manage and share skills and knowledge collections. Can access certain admin settings. |
| Administrator | Full access to all features and settings of the organization |
Which permissions users and managers have in detail can be configured under Roles & Permissions.
Inviting Users
Section titled “Inviting Users”For a detailed guide on inviting users, see Getting Started: Invite Users.
Quick guide:
- Click Invite User
- Enter the email address
- Select a role
- Click Send Invitation
Editing a User
Section titled “Editing a User”To edit a user, click the three dots (⋯) next to the user in the list. The following options are available:
Edit Name and Email
Section titled “Edit Name and Email”To change a user’s name or email address:
- Click the three dots (⋯) next to the user
- Select Edit
- Update the Name and/or Email fields
- Click Save
Change Role
Section titled “Change Role”Select the desired role directly from the options:
Send Password Reset
Section titled “Send Password Reset”If a user with an existing Ayunis password has forgotten it:
- Click the three dots (⋯) next to the user
- Select Send password reset
- The user will receive an email with a link to reset their password
This function is not available for accounts that were created automatically through single sign-on and do not have an Ayunis password.
Reset Two-Factor Authentication
Section titled “Reset Two-Factor Authentication”If a user has lost access to their authenticator app and recovery codes:
- Click the three dots (⋯) next to the user
- Select Reset two-factor authentication
- Confirm the action
The user can then sign in with their Ayunis password or through organization sign-in. If two-factor authentication is required, they must set up an authenticator app again at their next sign-in unless a second factor was verified during organization sign-in.
Unlock a Locked Account
Section titled “Unlock a Locked Account”If a user has entered the wrong password too many times, their account is automatically locked. The user list shows the status Locked. To unlock the account:
- Click the three dots (⋯) next to the locked user
- Select Unlock account
- Confirm the action in the dialog
After unlocking, the user can sign in again immediately and their unsuccessful login attempts are cleared.
Delete User
Section titled “Delete User”To permanently revoke access:
- Click the three dots (⋯) next to the user
- Select Delete
- Confirm the action
Setting a Credit Limit for a User
Section titled “Setting a Credit Limit for a User”You can set a monthly credit limit for individual users to control how many credits they can consume per calendar month. This is useful for managing costs or ensuring fair usage across your organization.
Setting or Editing a Credit Limit
Section titled “Setting or Editing a Credit Limit”You can set a user’s credit limit from the centralized Credit Limits page or from the user list:
- Navigate to Admin Settings → Credit Limits and switch to the Users tab, or
- Click the three dots (⋯) next to the user in the Users list and select Set credit limit (or Edit credit limit)
- Enter the number of monthly credits the user may use
- Click Save
Removing a Credit Limit
Section titled “Removing a Credit Limit”- Click the three dots (⋯) next to the user
- Select Remove credit limit
When no credit limit is set, the user can use credits freely within the organization’s overall budget.
Automatic Email Notifications
Section titled “Automatic Email Notifications”When a user has consumed 80 % of their credit limit, all administrators in the organization receive an email warning. When the limit is fully reached (100 %), a follow-up email is sent informing you that the user can no longer use the paid models until the limit is adjusted.
The emails include a direct link to the user settings so you can review and adjust the limit immediately. Notifications are sent automatically and reset each calendar month.
Next Steps
Section titled “Next Steps”- Roles & Permissions — Define what managers and users are allowed to do
- Manage Teams — Organize users into teams
- Getting Started: Invite Users — Detailed invitation guide