

Teams
Teams let you organize your users into groups — for example, by department, project, or function. Teams allow you to share skills with specific user groups instead of making them available to the entire organization.
Practical Example
Section titled “Practical Example”Your municipal administration has several departments. You create a separate team for each:
- “Citizen Office” — gets access to skills for citizen inquiries and registration matters
- “Building Department” — uses skills with knowledge collections about building regulations and forms
- “Finance Department” — works with skills related to fee schedules and budgeting
This way, each department gets exactly the skills it needs for its work.
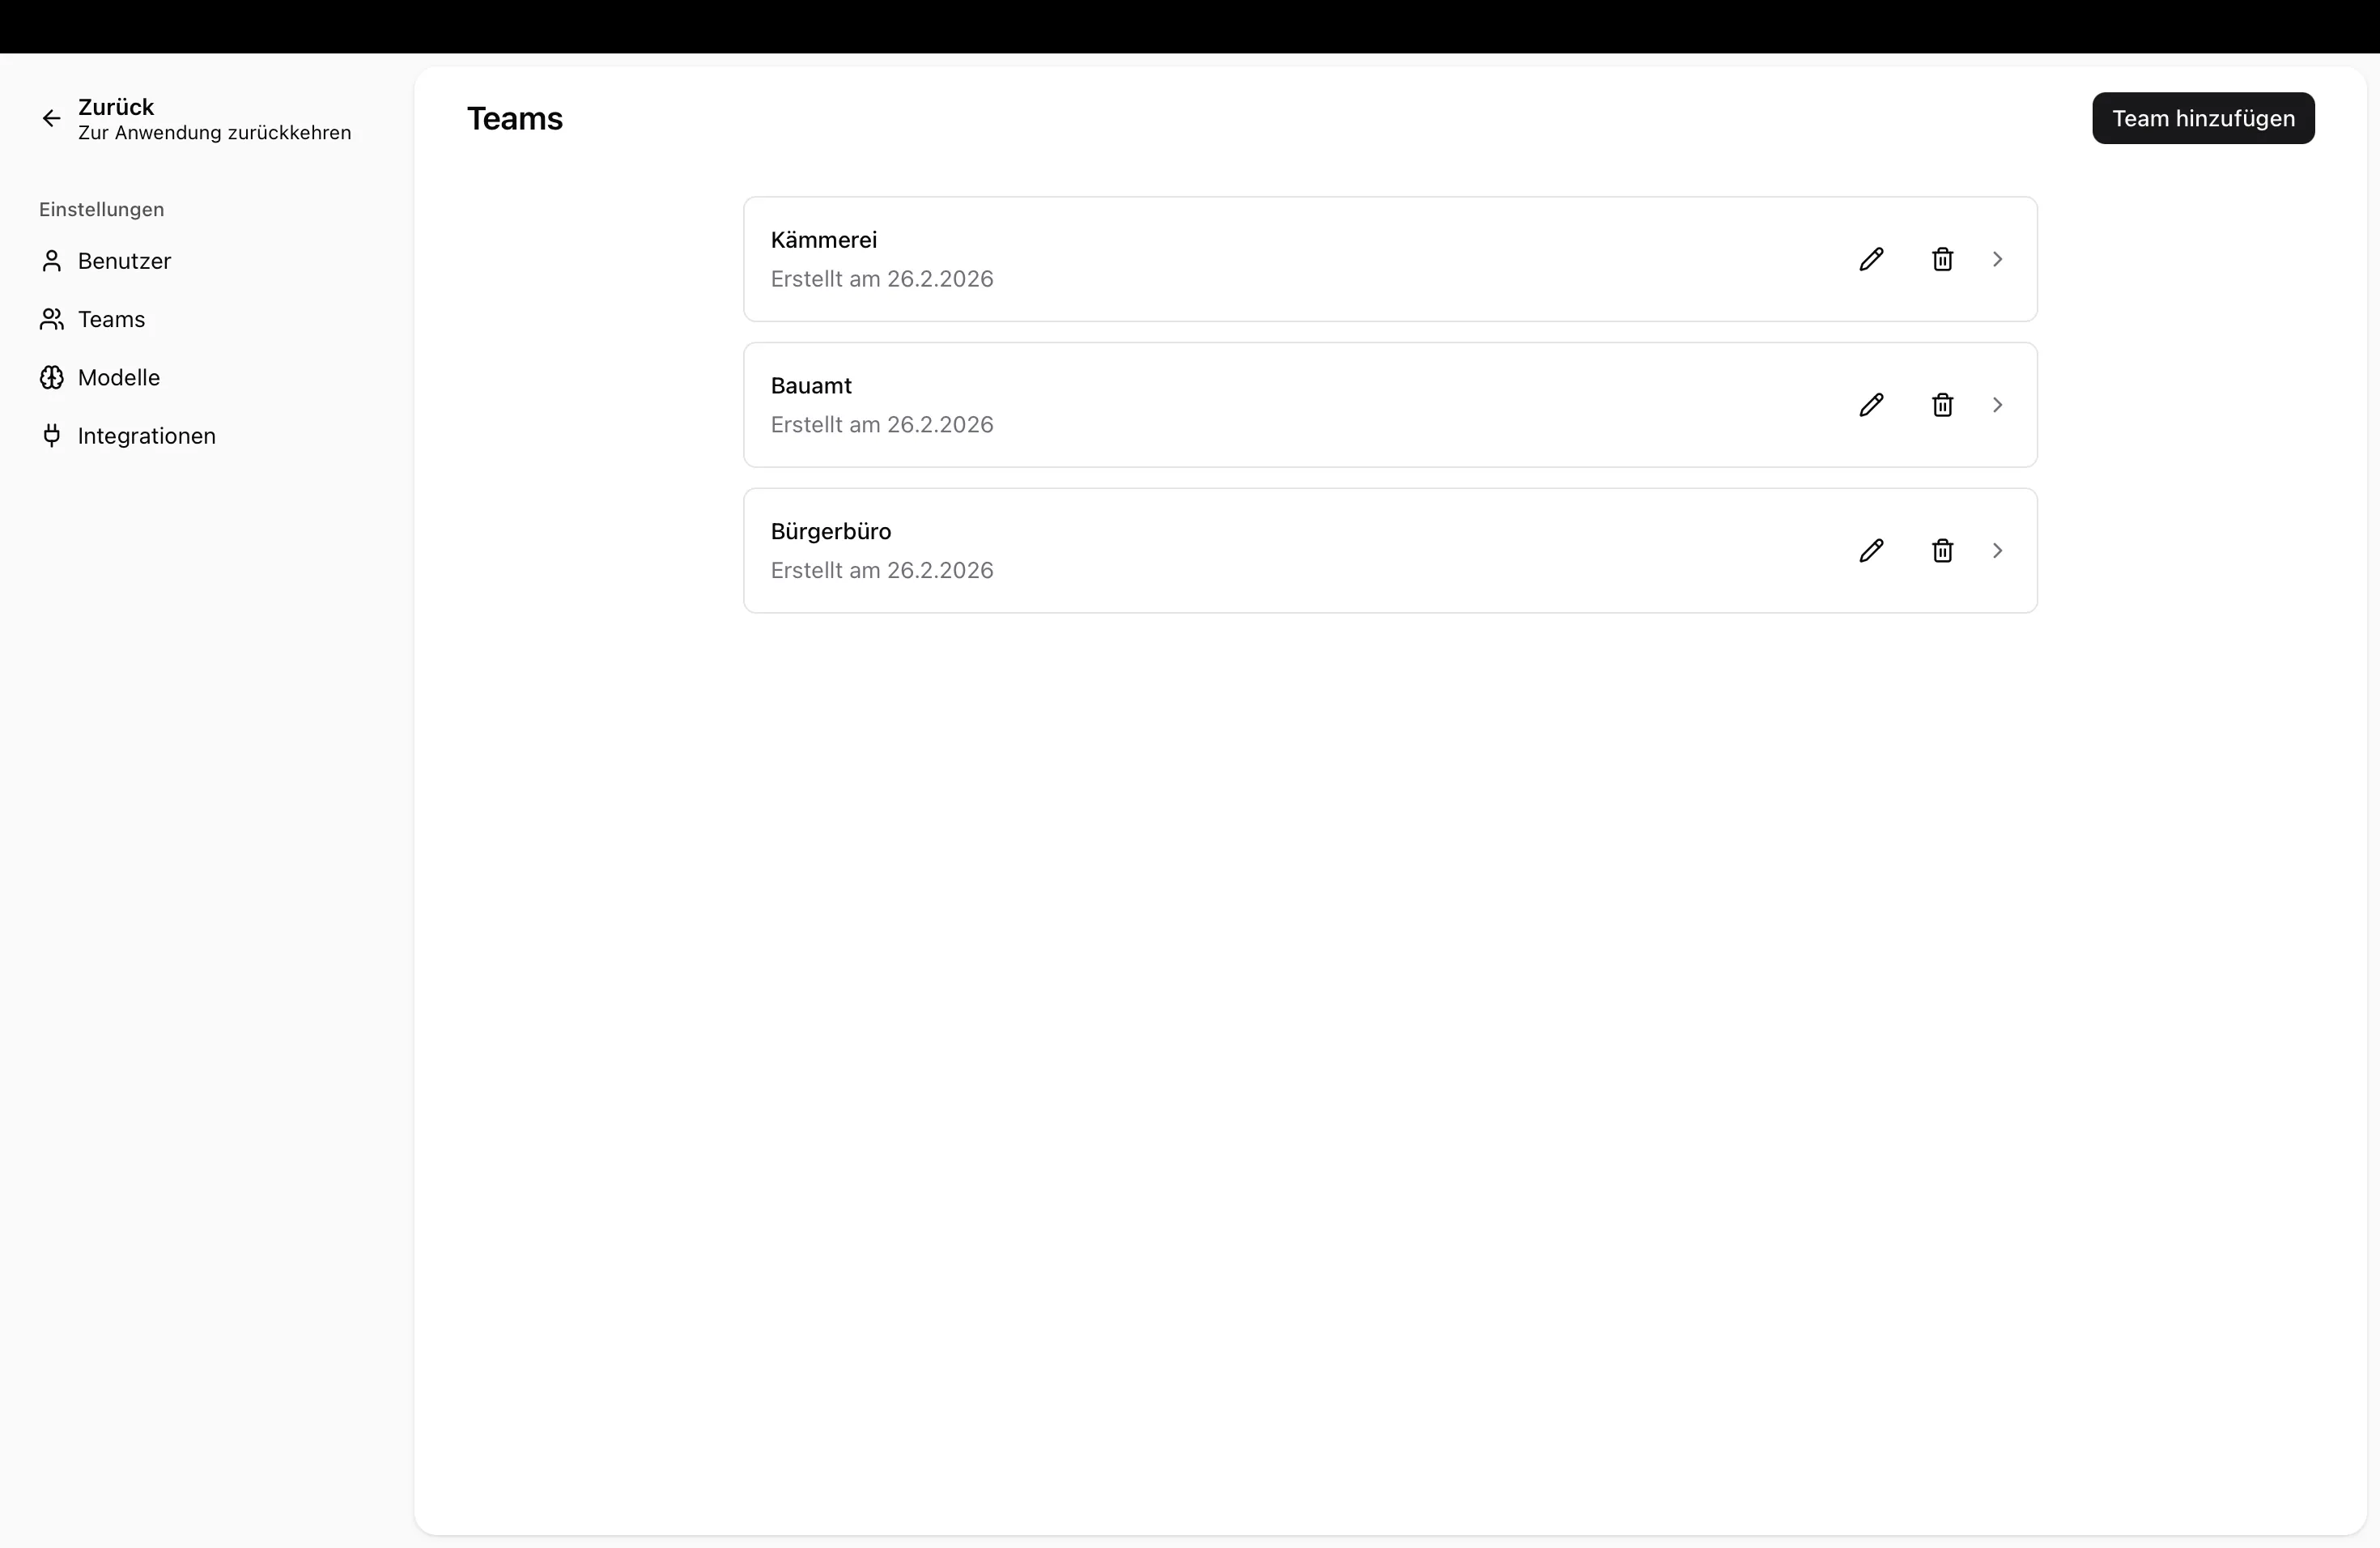
Searching for Teams
Section titled “Searching for Teams”If your organization has many teams, you can use the search bar at the top of the teams overview to quickly find a specific team. Simply type part of the team name — the list updates instantly to show only matching teams.
If no teams match your search, a message will appear letting you know that no results were found.
Adding a Team
Section titled “Adding a Team”- Navigate to Admin Settings → Teams
- Click Add Team
- Enter a team name (must be unique within your organization)
- Click Create
Adding Users to a Team
Section titled “Adding Users to a Team”- Open the desired team
- Click Add Members
- Select one or more people from your organization’s user list
- Click Add Members
You can select multiple people at once to add them to the team in a single step. A user can belong to multiple teams — for example, if someone works across two departments.
Removing Users from a Team
Section titled “Removing Users from a Team”- Open the team
- Click the delete icon next to the user
- The user loses access to skills shared with that team
Deleting a Team
Section titled “Deleting a Team”- Click the delete icon next to the team in the overview
- Confirm the action
Restricting Model Access for Teams
Section titled “Restricting Model Access for Teams”You can control which AI models are available to members of a specific team. By default, all teams have access to the same models as the organization.
Enabling Model Override
Section titled “Enabling Model Override”- Open the desired team
- Switch to the Models tab
- Enable the Override model access toggle
- Enable or disable individual models for this team
When override is enabled, team members will see only the models you have explicitly selected. If you select no models, team members will have no access to language models.
Enforcing Anonymous Mode per Model
Section titled “Enforcing Anonymous Mode per Model”When model override is active, you can make anonymous mode mandatory for each enabled model at the team level. Team members can then only use the model in anonymous mode.
- Enable the model override and enable a model for the team
- Enable the Enforce anonymous mode option for the desired model
This is useful, for example, when certain teams work with particularly sensitive data and a model should be available to the team but only usable with data protection enabled – regardless of the organization-wide setting.
Restricting Image Generation Models
Section titled “Restricting Image Generation Models”In addition to language models, you can also control which image generation models are available to the team.
- Enable the model override for the team
- In the Image generation models section, enable or disable the desired model
Setting a Team Default Model
Section titled “Setting a Team Default Model”You can also define a default model for the team. Team members will automatically start with this model unless they choose a different one.
- Enable at least one model for the team
- Select the desired model in the Team default model section
Setting a Credit Limit for a Team
Section titled “Setting a Credit Limit for a Team”You can set a monthly credit limit for a team to control how many credits the team’s members can consume in total per calendar month. This helps prevent unexpected costs and ensures fair distribution of resources across your organization.
Setting or Editing a Credit Limit
Section titled “Setting or Editing a Credit Limit”- Open the desired team
- In the Credit limit card, click Set credit limit (or Edit credit limit if one is already set)
- Enter the number of monthly credits the team may use
- Click Save
The credit limit card shows how many credits the team has used so far this month compared to its limit (e.g. “120 / 500 credits used this month”).
Removing a Credit Limit
Section titled “Removing a Credit Limit”- Open the team
- In the Credit limit card, click Remove credit limit
When no credit limit is set, the team can use credits freely within the organization’s overall budget.
Automatic Email Notifications
Section titled “Automatic Email Notifications”When a team has consumed 80 % of its credit limit, all administrators in the organization receive an email warning. When the limit is fully reached (100 %), a follow-up email is sent informing you that team members can no longer use the paid models until the limit is adjusted.
The emails include a direct link to the team settings so you can review and adjust the limit immediately. Notifications are sent automatically and reset each calendar month.
Next Steps
Section titled “Next Steps”- Manage Users — Manage your organization’s users
- Skills — Create skills and share them with teams