

Integrations
In the Integrations section, you manage the available integrations that your skills can use.
Integration Overview
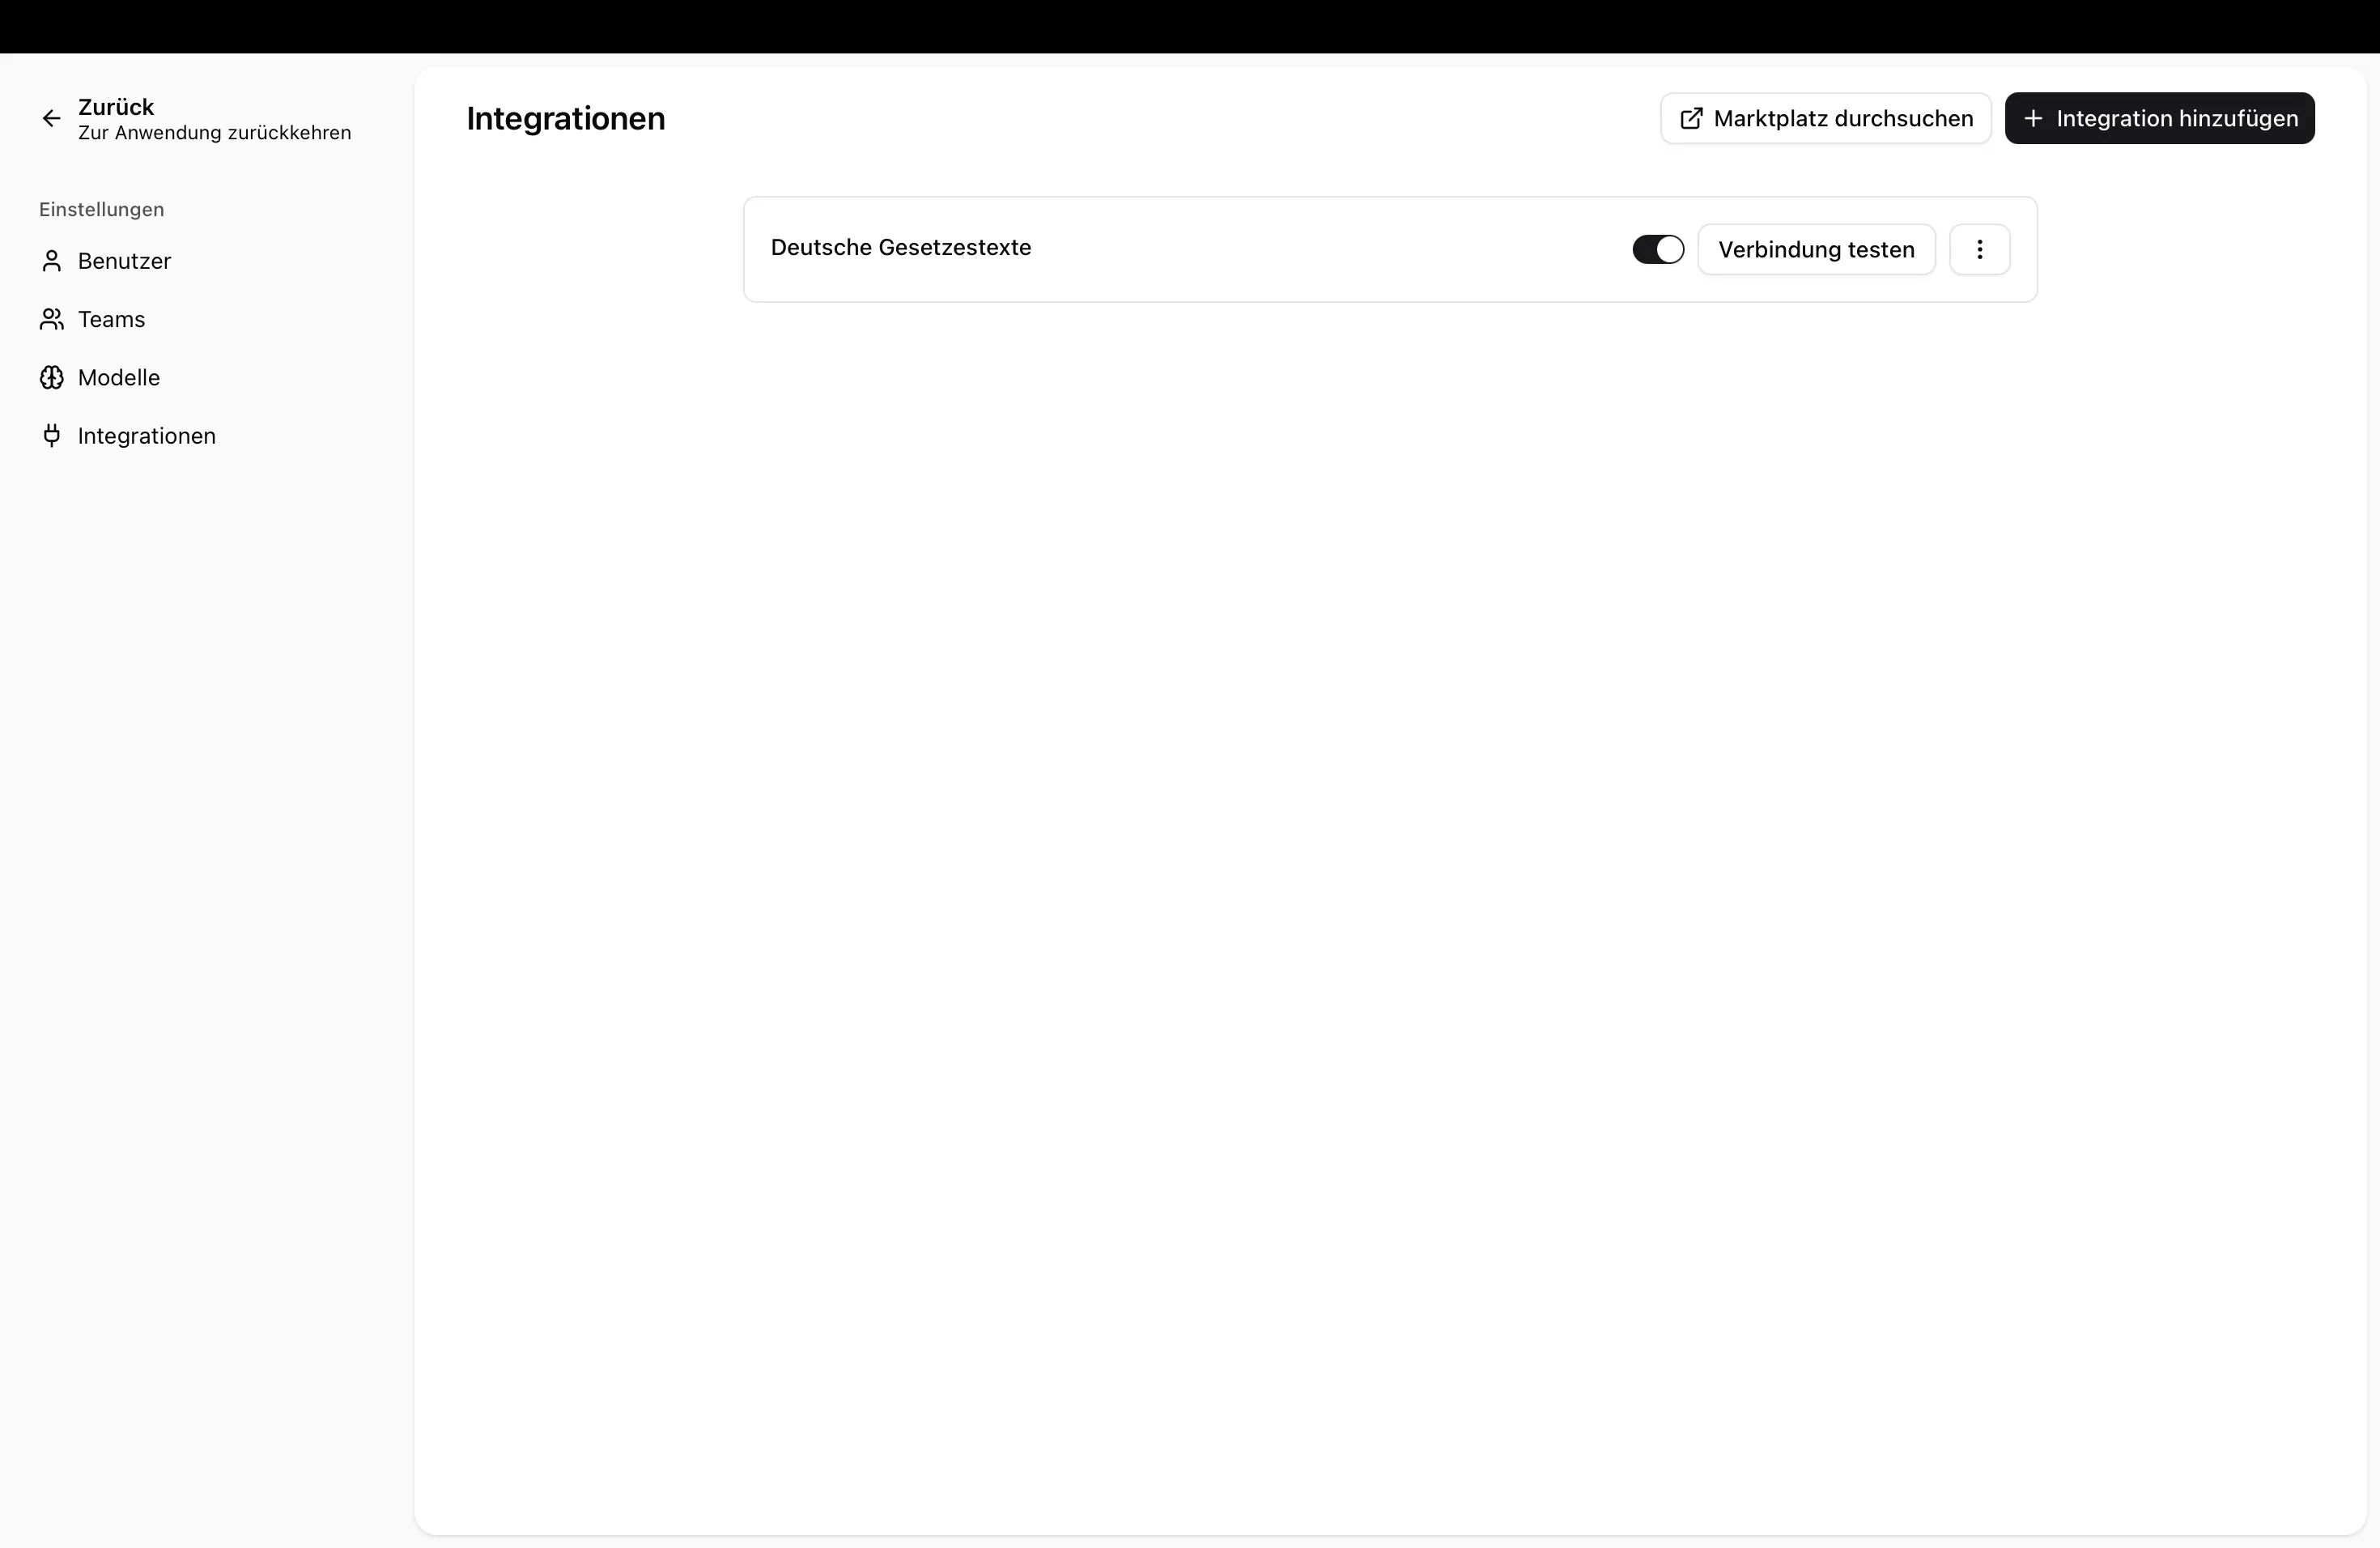
Section titled “Integration Overview”- Navigate to Admin Settings → Integrations
- You will see a list of all available integrations
Managing Integrations
Section titled “Managing Integrations”Install an Integration
Section titled “Install an Integration”You do not create integrations in the Admin Settings — you install them from the Ayunis Marketplace. There you will find all available integrations with a short description and can install the one you need with a single click. It then appears in this overview, where you enter the required details such as a URL or credentials.
If the service you want to connect is not available in the Marketplace, a custom integration is possible. Please contact help@ayunis.com for this.
Test Connection
Section titled “Test Connection”To check whether an integration is working correctly:
- Find the integration in the list
- Click Test Connection
- You will receive feedback on whether the connection is successful
If the test fails, the error message shows the specific reason reported by the external service (e.g. invalid credentials, unreachable server, or a permission issue). This helps you quickly identify what needs to be corrected.
Edit an Integration
Section titled “Edit an Integration”You can change the settings of an existing integration after it has been set up — for example the server URL, credentials, or header configuration:
- Find the integration in the list
- Open the menu (three dots) and click Edit
- Adjust the settings as needed
- Click Update
When you save, the connection is automatically tested. If the test fails, your changes are still saved and you will see a corresponding notice.
Delete an Integration
Section titled “Delete an Integration”- Find the integration in the list
- Click Delete
- Confirm the action
Council Information Systems (RIS)
Section titled “Council Information Systems (RIS)”The OParl integration lets you connect your council information system (RIS) directly to Ayunis Core. Meetings, agendas, and resolutions are then automatically available as a knowledge base for your AI skills.
Prerequisites
Section titled “Prerequisites”For the connection to work, your council information system must provide a publicly reachable OParl interface. OParl is an open standard supported by all common RIS vendors (e.g. Session/AKDB, Allris, meeting service providers, and others).
Please check the following beforehand:
- The OParl interface is activated in your RIS.
- The OParl URL is publicly reachable over the internet.
You will usually receive the OParl URL of your system from your RIS vendor or your municipal IT department. It typically has the following format:
https://[your-ris-url]/oparl/v1.0/Step-by-Step Guide
Section titled “Step-by-Step Guide”- Find your OParl URL – Ask your RIS vendor or your IT department for the public OParl endpoint URL of your system.
- Verify the interface – Open the OParl URL in a browser. You should see a structured JSON document containing information about your system. If the page is not reachable, contact your RIS vendor.
- Install the integration – Open the Ayunis Marketplace and install the integration “OParl Council Information System (RIS)”. Installation is free and takes only a few seconds.
- Enter the OParl URL – After installation, enter the OParl URL you obtained into the integration settings.
- Start synchronization – Ayunis Core automatically reads the data from your RIS. Meetings, agenda items, and resolutions are then available as a knowledge source.
- Data is synchronized automatically — no manual import is required.
- Only publicly accessible data is retrieved via the OParl interface.
- If your RIS does not offer a public OParl interface, contact your vendor and ask for it to be activated.
Authentication Methods
Section titled “Authentication Methods”Some organizations want to connect their own specialist system or a service for which no integration exists in the Marketplace yet. For such custom integrations, Ayunis Core offers two authentication methods:
Custom HTTP Headers
Section titled “Custom HTTP Headers”The classic method: you define HTTP headers that are supplied either by the organization or by individual users (e.g., API keys, bearer tokens).
OAuth 2.1
Section titled “OAuth 2.1”Integrations that support the OAuth 2.1 standard can use secure browser-based login. Each user is automatically redirected to a login window of the external service to connect with their own account.
When setting up an OAuth integration, you can choose:
- Automatic client registration: Ayunis Core automatically discovers the OAuth capabilities of the server.
- Static client credentials: You enter a pre-registered client ID and optionally a client secret.
User Authorization
Section titled “User Authorization”Some integrations require individual users to provide their own credentials — either via a personal API key or via an OAuth login. When this is the case:
- After adding the integration, affected users will see a notification in their personal Settings → Integrations page.
- Each user authorizes the integration themselves with their own credentials — these are never shared with other users.
- For OAuth integrations, users click Connect and are redirected to a secure login window of the external service.
- The status of each integration is shown as Action required, Connected, or Optional.
As an administrator, you do not need to collect individual credentials. Simply add the integration and inform your users that they need to authorize it in their personal settings.
Next Steps
Section titled “Next Steps”- Personal Integrations Settings — How users authorize integrations
- Skills: Integrations — How skills use integrations
- Manage Models — Configure language models